Check It Out!!

Thursday, April 28, 2011

Aaaaah...


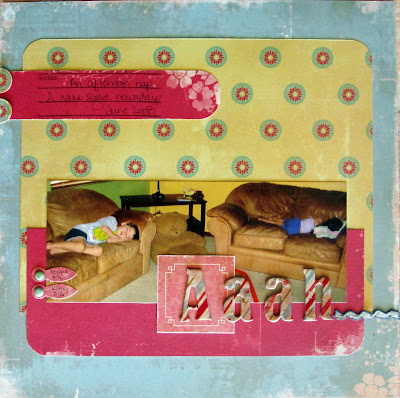
Aaah...what a beautiful sight!  Two children napping in the middle of the afternoon.  And not yelling.  Nor running around.  Nor teasing each other, pinching, hitting, kicking, breaking things, moving furniture around, creating "potions" with Pixy Stix and popcorn, "cleaning" the bathroom mirror with foam soap, etc, etc, etc. 

Aaah...

Wow, that picture was taken almost 3 years ago and that may have been one of the last times I witnessed the beauty that is afternoon napping. 

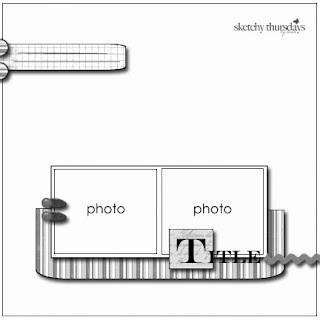
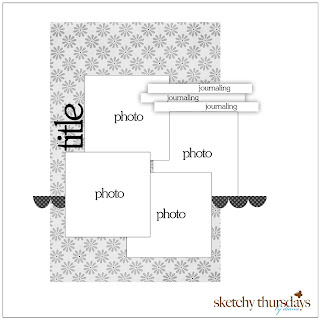
I made this layout a while ago, too and used it to base this week's Sketchy Thursdays sketch upon: 


Hope to see you over there playing along!

♥heidi

Sunday, April 24, 2011

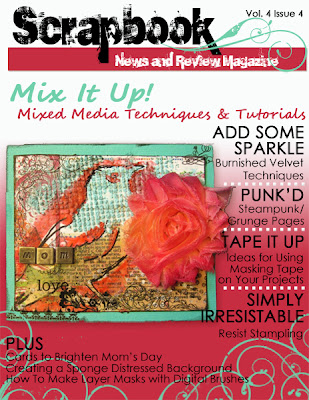
Scrapbook News and Review April issue is out!


The April 2011 issue of Scrapbook News and Review is out today. 

I'm so excited because that's MY card on the cover!  What a fabulous surprise this afternoon when I clicked onto the SNR website! 

If you have a subscription, the issue is available now and it is an awesome one!  The submissions this month are just gorgeous. 

If you don't have a subscription, click here to check out how to get one.  Trust me, this is one case where you definitely get your money's worth and then some.  There are always at least 400 pieces of inspiration every month and actually you get two magazines a month - "eye candy" and inspiration on the second Sunday of the month and then tutorials and papercrafting articles on the fourth Sunday of the month! 

Hope you had a beautiful and relaxing Easter. 

♥heidi

Thursday, April 21, 2011

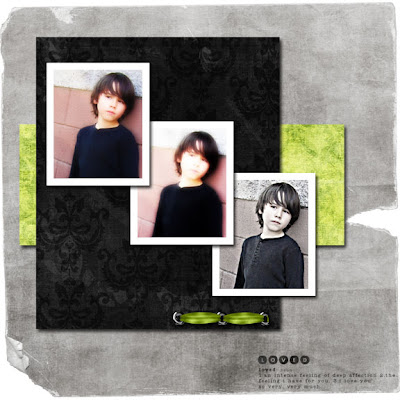
Loved

Credits: Digital Paper & Border: Limon kit by Dana Zarling; Word Art: Be You kit by Karla Dudley; Photo Editor: Picnik.com

I am in love with this pic of my son.  If you could see the entire picture, he's standing there while my husband is tying his shoe.  I love the snapshot of downtime...he's usually larger - and LOUDER - than life. 

This is based on my sketch for Sketchy Thursdays this week:


Sorry I've been so MIA lately.  I've been busy, busy, busy creating lots of fun stuff but ~sniff~ I can't share any of it with you yet.  Stay tuned...I promise I'll share some stuff I made the last few months in the next few days. 

I've also been trying to get ready for Easter.  The Easter Bunny does baskets and then hides TONS of eggs.  EB's been trying to find stuff to put in the eggs besides candy.  So far EB is stumped.  EB thought about hitting the party store but then thought about how much useless party stuff is hanging out in the room I am currently trying to clean up.  Ugh. 

We'll be coloring the Easter Eggs Saturday.  Then the family comes over here for dinner on Sunday. 

What do you do for Easter?

Hope you have a great one!

♥heidi

Thursday, April 14, 2011

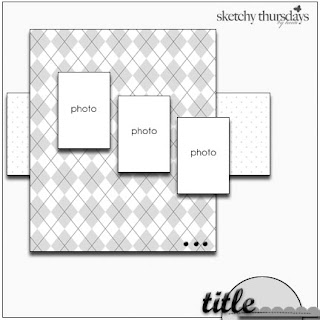
Sketchy Thursdays

Time once again for your weekly dose of Sketchy Thursdays yumminess!


Another awesome one by Diana! 

And even though two-pagers are hard for me I really LOVE this one and wanted to play along.  Sadly, it wasn't in the cards this week.  This one is definitely going into my "to do " file for later, though. 

Be sure to check out all the amazing inspiration by our DT! 

And we'd love to have you play along with us.  This week's sponsor is Sweet Peach Crop Shop - this week's winner will get their cool April kit!

Hope you are having a great week!

♥Heidi

Sunday, April 10, 2011

The F-Word


Damn thing sneaks up on you...


Thursday, April 7, 2011

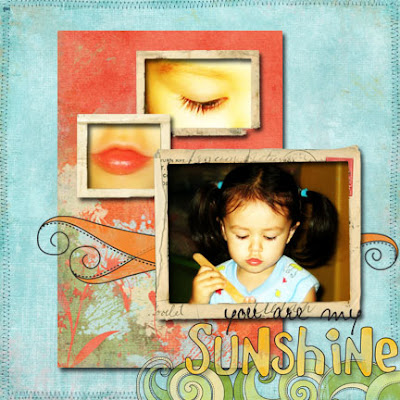
My Sunshine

(Credits coming soon...)

This is one of my favorite pics of my daughter.  She was about 2 here.  She's got the most adorable, full lips.  I monkeyed around with the color on these pics and one of them came up all sunshiney yellow toned. 

This is based on this week's Sketchy Thursdays sketch, this one by the lovely and talented Diana:


This is an exciting week on Sketchy Thursdays...today we reveal layouts by our newest Design Team!!!!  Head on over to the blog to check out their wonderful inspiration!!!!

We're having a weird weather week here.  This past weekend we hit 100 - the second earliest 100 in recorded history here.  Lovely.  Sometimes we hit sometime mid-April but on average it doesn't happen until early May.  And then yesterday it was slightly rainy and around 80.  They've got it forecasted for this Saturday in the low 60s.  Yes, you read right - SIXTIES.  If it comes to pass we will have swung 40 degrees in one week.  Very funky.  

Friday, April 1, 2011

Well, OK then!

I completely forgot to write my own blog post for Sketchy Thursdays yesterday despite having written the actual ST post, LOL!  Duuuuuuhhhh!!!!


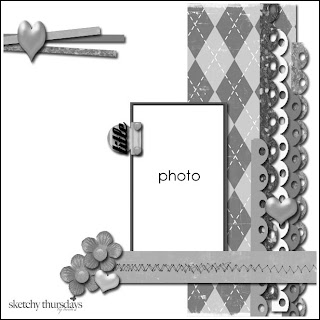
I based this sketch on a layout I made for Scrapbook News and Review a few months ago. 

Love by Heidi Myers Supplies Cardstock: The Paper Company, Stampin’ Up!; Patterned Paper: EK Success; Glitter Paper: Colorbok; Staples: EK Success; Ink: Clearsnap; Punches: Fiskars, Stampin’ Up!; Adhesive: Scotch 3M; Other: brads, acrylic accent, rhinestones, crepe paper, thread

Originally published in Scrapbook News and Review January 2011

To apologize, how about I share the tutorial that accompanied this layout?  ;oD


Crepe Paper Pleat Tutorial


Pleats are a great way to add texture, softness or whimsy to a scrapbook layout or card. There are several ways to make a pleat and several materials you can use. Today I’m going to walk you through how to make one using crepe paper and your sewing machine.


Gather your supplies:

 
  • Crepe paper roll
  • Double-sided tape
  • Thread
  • Sewing Machine


 Step One: Determine where you want your pleat on your project and run a line of double-sided tape the entire length of your desired pleat.


Step Two: Beginning at one end of your tape line, press down the end of the crepe paper and then fold it back toward the end of the crepe paper. Lightly holding the fold, bring the crepe paper back toward the tape line sticking it down on the line to make a pleat as wide as you desire. Repeat until you’ve covered your entire tape line.


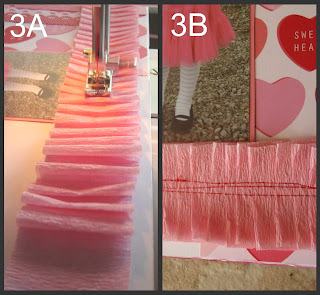
Step Three:  Stitch down the middle of your pleat with your sewing machine. I usually like to stitch three lines although the number is a matter of preference. Since I was making a playful layout I allowed my lines to weave and cross a bit, although again, this is a matter of preference.


Please note, your needle is going to get a bit sticky because you’ll be stitching through your tape line. No worries. When you’re finished just give it a quick swipe with a baby wipe or damp paper towel to clean off the build-up. (Make sure you’ve unplugged your machine first!)


 Step Four (optional):  If desired, rough up your pleat a bit by pinching and lifting the pleats.


This method for pleating works just as well with strips of fabric or patterned paper and ribbon. You can also attach your pleat to your project with glue, staples or brads. I have tried all these and for the smoothest, most even pleats I think the double-sided tape method works best.

 
Fun, eh?  Hope you enjoyed my pleating tutorial.

For more tutorials and articles in scrapbooking, cards, stamping and multi-media check out Scrapbook News and Review

Be sure to hop on over to Sketchy Thursdays to see what our Design Team made for your inspiration with the sketch.  Today is the last sketch for the current DT.  Let me know how much you've enjoyed their work!!!  Next Thursday 4/7 will be the debut of the next DT's work! 

Hope to see you playing along, too!  This week there's an AMAZING Scrapbook Circle kit up for grabs.  Trust me, it's gorgeous!

Hope you have a great weekend planned!  We're forecasted for 99 today.  I'm just not ready for that yet.  Oh, well.  The kids are excited that swim season is almost upon us. 

♥Heidi